Hardwood Flooring Installation Tips
Follow these tips for a beautiful, stress-free hardwood floor installation – whether you hire a Pro or DIY.
It’s important to keep installation top of mind, no matter what stage you are in your floor buying journey. Knowing what to consider before, during and after will simplify your buying decision and ensure your hardwood flooring is installed correctly for maximum beauty, performance and durability.
Preparation Tips for Hardwood Installation
- Read the installation instructions.
Carefully review the detailed instructions for your wood flooring to learn what you’ll need and what to expect. Do this well in advance. - Prepare the room.
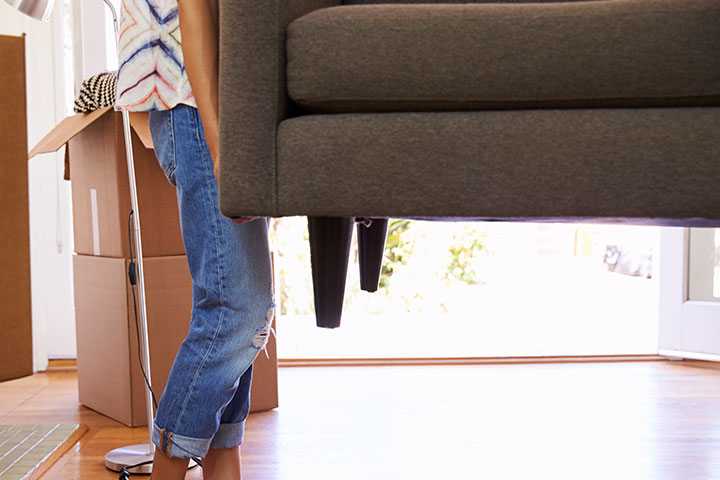
Clear out furniture. Remove and dispose of old flooring if necessary. Gently remove any wall base, millwork or trim that you’d like to reuse. - Prepare the subfloor.
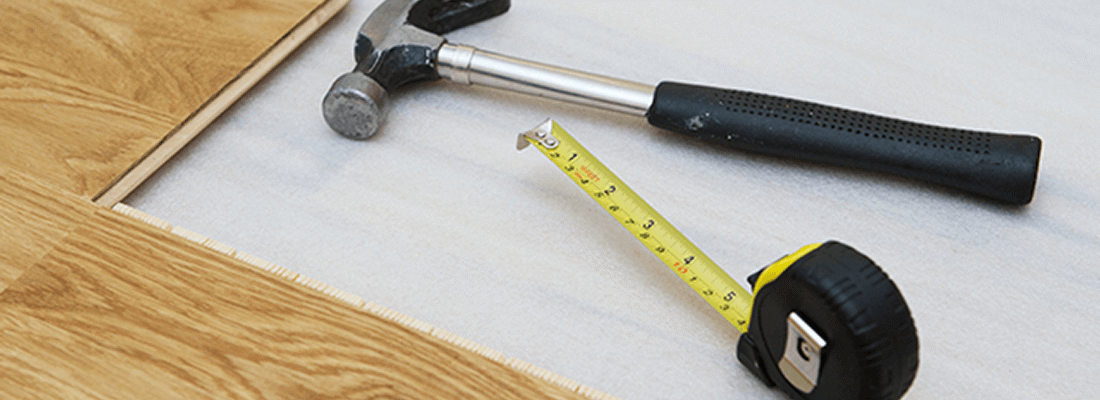
Be sure the floor you’re laying over is dry, clean and flat. If repairs are needed, make those before starting the installation. - Gather additional materials and tools.
Your list could include coordinated trims and moldings, underlayment, adhesives, nails, staples, an air compressor and other tools. Check your installation instructions for specifics. - Acclimate wood flooring according to instructions.
This crucial step gives the hardwood flooring time to adjust to the environment of the room where it will be installed. We recommend acclimating all solid hardwood, but it isn’t necessary for engineered hardwood.
Inspiration to Your Inbox
Sign up for news about our latest flooring innovations—and get inspired for your next project.
Sign Up Solid Hardwood vs. Engineered Wood
 How to Choose the Best Hardwood Floor
 How to Clean Hardwood Floors
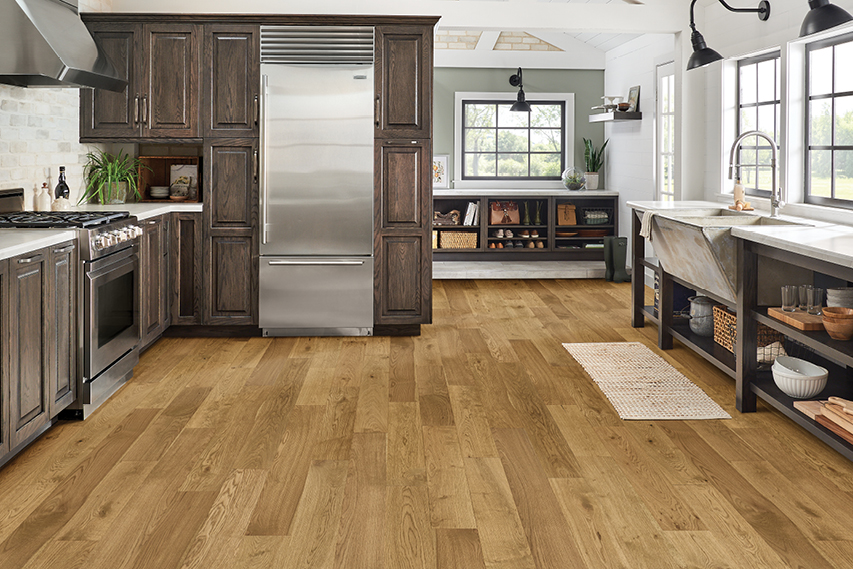 How Much Does Hardwood Flooring Cost?